


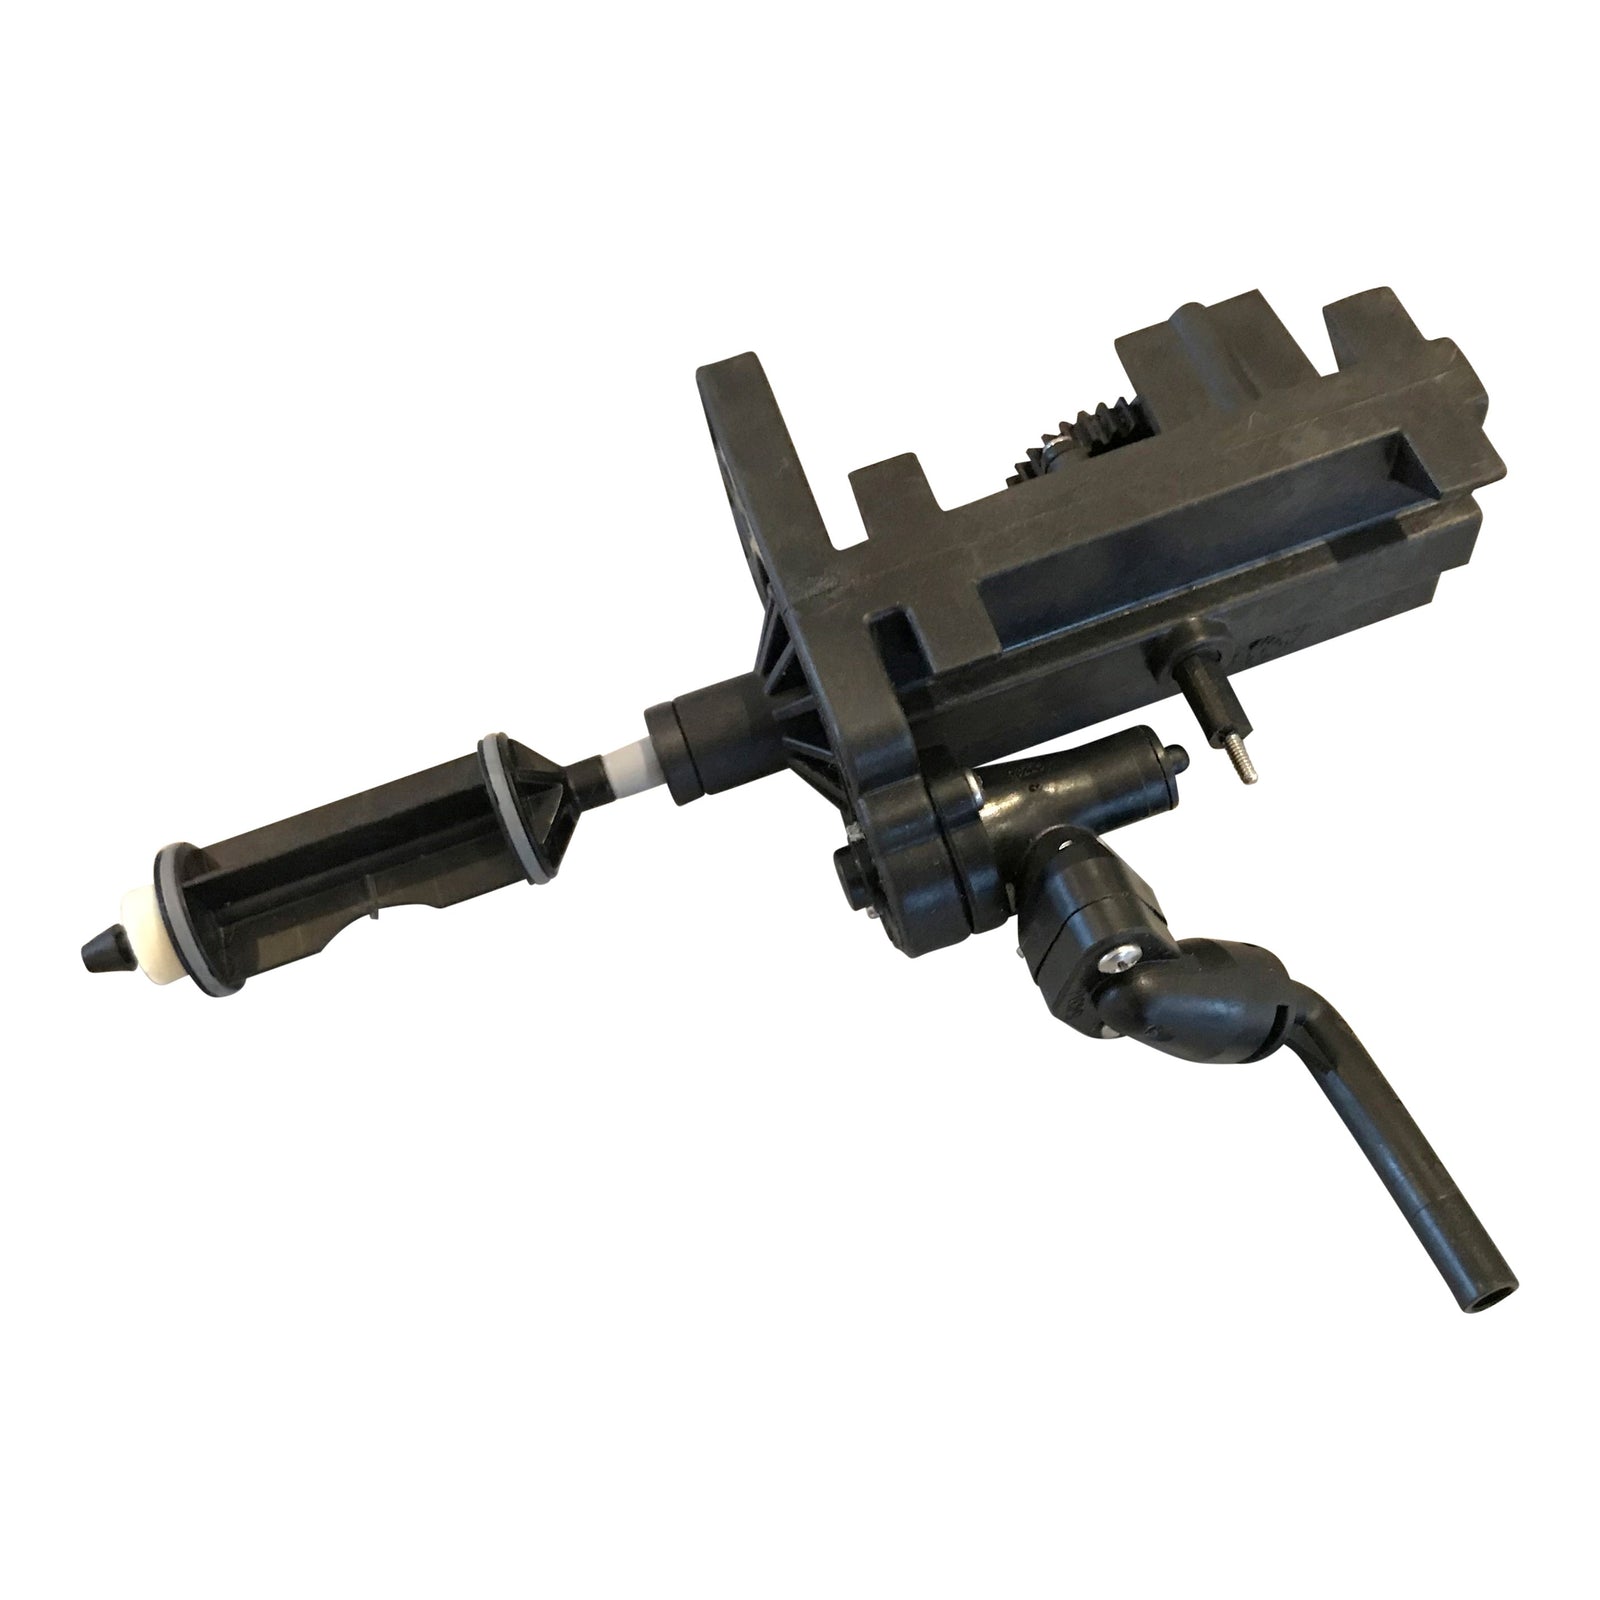

Although these Water Boss High Efficiency water softeners rarely need service or repair, today I'm looking at how to replace the Piston or the Drive End Cap Assembly (DECA). This may become necessary if the piston jams inside the valve, check out trouble shooting. 1) Remove the valve cover assembly and initiate a regeneration by holding down the regeneration button for 5 seconds, once you hear water running to drain, bypass and unplug the water softener. Unplug the Computer Control Assembly and remove it by sliding to the right. 2) Remove the screws at each end of the DECA and disconnect the Brine Valve Assembly from the Safety Shut Off. Removing the Hex nut from the Safety Shut off inside the brine well will make it easier to remove from the Brine Valve Assembly. Be careful not to lose the O ring and Brine Piston. 3) Slide out the DECA being careful to keep track of the two O rings at the piston end. 4) If you're just replacing the piston, note that it's slotted into the piston slide. To remove it, rotate Piston 90° counter clockwise. To replace, rotate the piston 90° clockwise until you hear an audible “click.” Then reassemble. 5) If you're replacing the whole DECA you will need to remove the Drive Motor, and Magnet Disk Assembly from the old DECA and install on the new one. 6) Before reassembly, check the O rings, the smaller O-Ring should be placed on the male boss on the End Cap. When assembling the End Cap to the Valve Body, care should be taken to make sure the small O-Ring is aligned with the opening in the Valve Body and that the large O-Ring stays in the groove in the End Cap. If misaligned, the O-Rings can become pinched and leak. 7) Slide the DECA into the valve body wiggling it slightly while sliding it in. Tighten screws. 8) Reattach the Brine Valve Housing Assembly and connect to Safety Float. 9) Secure the safety float, reattach and reconnect the Computer Control Assembly, plug into wall. 10) Once the valve has found home you can slowly open the bypass valve and check for leaks. 11) Regenerate water softener, again checking for leaks throughout the regeneration process.