


Whether you’re a DIY homeowner, plumber or water treatment professional, it's crucial that you know how to properly care for your water treatment systems at the home or cottage in order to keep them running optimally.
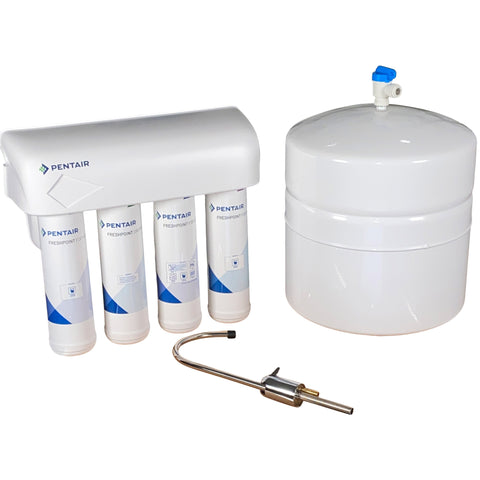
Today Gary the Water Guy is going to show you how to clean and disinfect your Reverse Osmosis system like a pro!
GETTING STARTED
Before we begin, I will address that if you are on a chlorinated water source or have an Ultraviolet (UV) Disinfection system on well water, the chances of bacteria growth on your RO system is minimal. However, if it has been a few years since the last disinfection or installation you are definitely due!

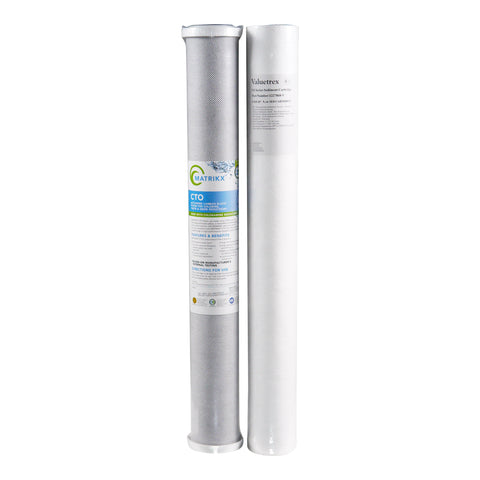
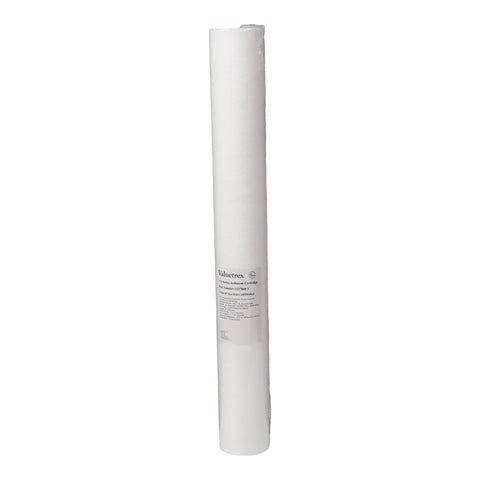
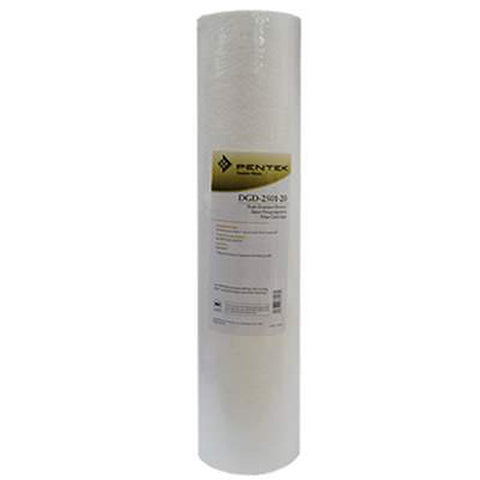
Prior to starting the cleaning process, make sure that you plan ahead and have replacement filters and membranes ready as you will need to throw away all of the existing filters and the membrane on your RO unit when you clean and disinfect it. You can get RO replacement filters and membranes shipped right to your door via our website here!
Some additional tips to make sure you minimize the chances of introducing bacteria into your RO whenever you do a filter change are below.
- Always make sure you wash your hands with soap and water or put on gloves before you begin.
- Make sure your work area is clean and put down a clean cloth.
- Be sure to keep all filters in their packaging until just before installation.
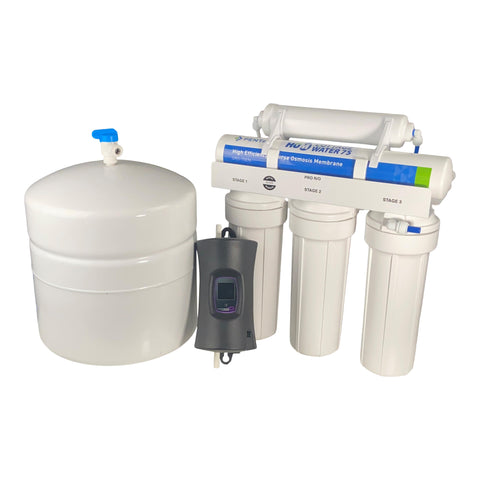
To understand why you need to clean and disinfect your RO unit, it's important to understand how Reverse Osmosis drinking water systems work to clean up your drinking water. So before you start, check out my YouTube video here.
Also, you’ll be disconnecting the tubing during this process so if you aren’t sure how, watch this YouTube video of mine first to learn how.
Okay, great! Ready to begin cleaning your RO system? Let's get started!
-
Shut off the water supply to the RO system. If there is any mold on the outside of the system or the tank, now it the time to disconnect and thoroughly wash the system to remove.

- If your RO is connected to your refrigerator or ice maker, shut off the water line going to the ice maker.
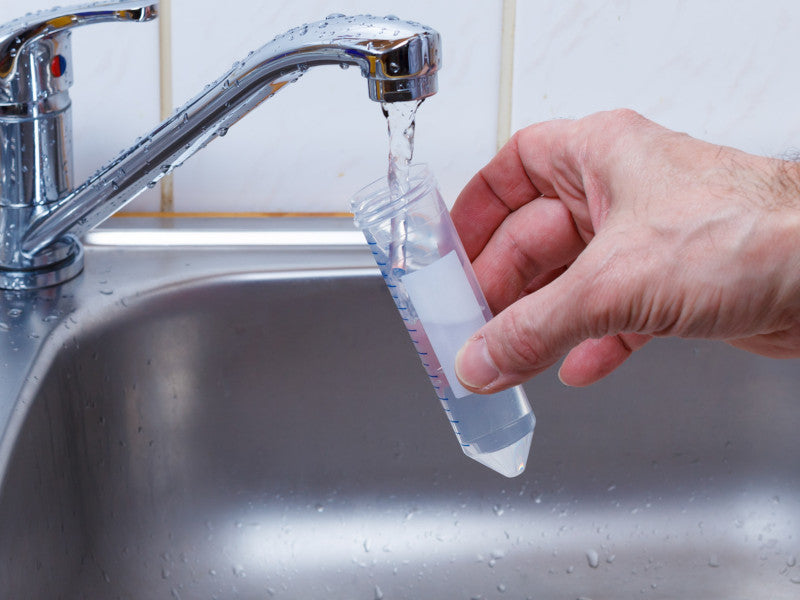
- Open the Reverse Osmosis faucet and drain all water from the RO and storage tank.
- Once empty, close RO faucet.
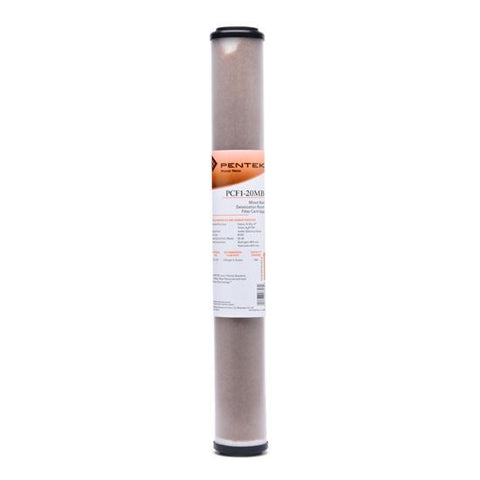
- Open the sediment filter housing, which is the closest or first filter to the feed water line. Remove and discard the filter, leaving the filter housing off.
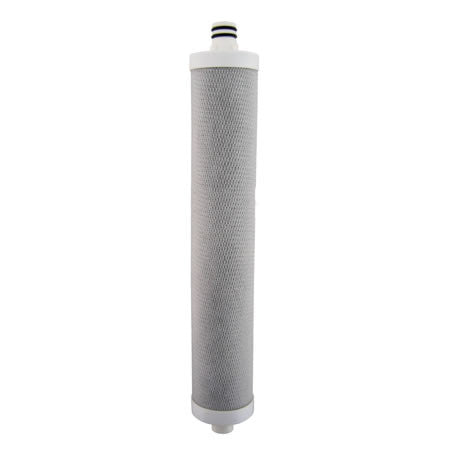
- Remove and discard all remaining filters and the membrane. If you have an inline post filter, leave it in place temporarily. For instructions on installing and removing filters click here.
- Replace all empty filters housings, except the sediment housing. There should be no filters or membrane in any housings at this point.
-
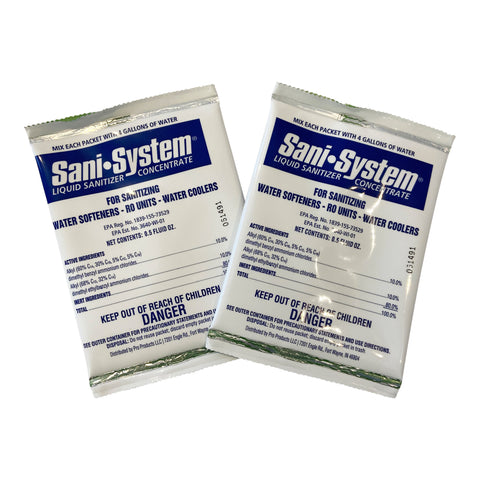
Pour one packet of no-mess Sani-System sanitizer into the sediment filter housing. We use this because Sani-System Disinfectant is the only EPA registered & NSF approved sanitizer to be used in Water Softeners and Reverse Osmosis Drinking Water systems. It is proven to kill 99.99% of harmful bacteria in water softeners and RO units without using chlorine, oxidizers or acids which could harm equipment parts and resin! Available in our eStore here.

- Replace the sediment filter housing with the sanitizer solution inside.
- Put a shut off valve on the drain line in the open position.
- Turn on the water supply to fill the RO with the sanitizing solution. As water starts to flow out of the drain line, shut the drain line off.
- Check for leaks.
- Allow system to fill with water. Time will vary depending on water pressure; however, system should be full within 5-10 minutes without the filters or membrane installed. Turn on the RO faucet until water begins to flow out, then turn off the faucet.
- Let system disinfect for 5 minutes without any water usage.
- Flush RO by turning on the RO faucet and letting water run through the system for 5 minutes, or until disinfectant odour is gone. Open drain line valve.
- Shut off the water supply line. Open the RO faucet to drain the RO completely.
- Install new filters and membrane. Follow this video for the how-to steps if you're unsure.
- Turn on the cold water supply line and check for leaks.
- The RO system will take a couple of hours to refill. Flush new membrane and filter three times allowing storage tank to refill between flushes.
- Reconnect the RO to the refrigerator or ice maker.
There you have it! Your squeaky clean, disinfected RO system is ready for use and you can enjoy peace of mind knowing that your water is safe to drink and bacteria-free. Hope this step-by-step DIY demo was helpful!
Have questions or need more help? Reach out to us here or check out our full YouTube channel playlist for more awesome videos from #GaryTheWaterGuy on water treatment equipment troubleshooting, tips and tricks.
Go here for your next Reverse Osmosis Drinking Water video and I’ll see you there!
Video Transcript
Gary The Water Guy:
Are you worried about bacteria in your family's reverse osmosis drinking water system? When was the last time you cleaned and disinfected it? Is there mold growing on the outside? That can't be good. Well, in this video, I'm going to show you how to clean and disinfect the reverse osmosis drinking water system in your home for your family, starting right now.
Gary The Water Guy:
Hi, I'm Gary The Water Guy and I simplify water filtration to help you conquer crappy water for your family. Now, whether you're a do it yourself homeowner, a plumber or a water treatment professional, you need to know how to clean and disinfect a reverse osmosis drinking water system.
Gary The Water Guy:
Yes, I know if you're on a chlorinated water supply, or if you have an ultraviolet disinfection system on your whole house, before your reverse osmosis system, the chances of you having bacteria in that reverse osmosis system are very low. But if you haven't cleaned or disinfected it for several years or since it was installed, it's definitely due. So a couple things to keep in mind before you get started, you need a full replacement set of filters and a replacement membrane for your reverse osmosis system, because the old ones you can not reuse once you've disinfected the system.
Gary The Water Guy:
Secondly, you need to have some kind of a disinfectant. So Sani-System works extremely well. It's designed actually for this purpose, or you can use a few tablespoons of chlorine, bleach basically. And it's very advisable to know how a reverse osmosis system actually works. So if you're not sure, I definitely suggest you check out my video. I'll put a link in the description down below and click on it, check it out, and you'll definitely appreciate that going forward.
Gary The Water Guy:
So there's a few precautions you need to take to make sure you're not introducing bacteria into the reverse osmosis system during the filter change or when you're changing the membrane. So make sure you wash your hands with soap and water before the procedure. Also, you can wear gloves to keep everything nice and clean. I also suggest putting down a nice clean cloth so that you're working on that while you're doing the whole process. If there's any mold on the outside of the reverse osmosis system, you definitely have to get rid of that. And thirdly, make sure you leave the filters wrapped up until you actually need them and before you're actually putting them into the system.
Gary The Water Guy:
During the disinfection process, they'll also be several occasions where you're going to have to undo the tubing from the quick connect fittings. To do that, you just push in on the end, hold the collar back and pull it out and then to reconnect it, you push in until you feel some resistance and then push a little bit harder and make sure that it's locked in place. If you'd like some more information about that, I have a great YouTube video and I'll put a link in the description down below and you can check it out for some more information.
Gary The Water Guy:
All right, then let's get started. The first thing you're going to do is shut off the water to the whole system. You'll have a ball valve shutoff that looks something like this and so then you just turn it 90 degrees. That shuts off the flow. Whatever direction the handle is in is what direction the water's flowing, so that shuts it off. And then what you're going to do is you're going to open up your faucet and you're going to open it up and let all the water run out. You're going to be draining the tank totally, so it's going to take a little while for it to run. So let it flow right til it slows right down to nothing. At first, it's going to flow very quickly, but as time goes by, it's going to go slower and slower and slower. That might easily take 10 minutes.
Gary The Water Guy:
So now's the time that if there's any mold on the outside of your reverse osmosis system, to deal with that. What I suggest to you use a spray cleaner, any kind of spray cleaner. Spray the whole unit. Let it sit for several minutes so it has time to seep in and then use a toothbrush or something like that to get into all the nooks and crannies to clean it all out, rinse it all off, make sure that it's nice and clean on the outside.
Gary The Water Guy:
And then you'll use your filter housing branch to remove the filter housing. So you're going to start at your sediment filter. Your sediment filter will typically be stage one. Then you use the wrench and unscrew the filter housing. You're going to open it up. You're going to discard the filter that's inside. You're going to dump all the water out, but you're going to leave the filter housing off. And then you're going to go on to stage two and to stage three. You're going to remove all of the filters, but stage two and stage three, again, you're going to dump out the filters, you're going to dump out the water, but you're going to put the filter housing back on and snug it up so it doesn't leak.
Gary The Water Guy:
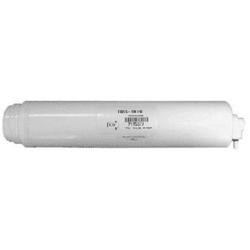
Next you're going to have to disconnect the tubing on the end of the membrane so you can open up the membrane housing to get the membrane out. So again, it's one of these quick connect fittings. What you're going to do is you're going to force the tubing in, hold the collar back and pull the tubing out directly and then we'll lift this up and remove the post filter for a second and then you unscrew the cap. Now I've loosened this up ahead of time, so you may very well have to use tools to unscrew the cap. Then you're going to pull out the membrane.
Gary The Water Guy:
Now the membrane does not come out very easily, so you probably want to use needle nose pliers, and you just twist it a little bit, then pull and the membrane comes out. So you're going to set the membrane aside because you don't want the membrane in when you're doing the disinfection process. Remember I said, you're going to be replacing all these things afterwards. So then you're going to close this back up, reconnect the tubing. We'll put this filter back on top here, like so. Then we're going to reconnect the tubing to the membrane right there. And again, slide it and make sure it locks into place. Now, the filter on the top, the post carbon, you would just leave in place. I mean, we're going to ruin it during this disinfection process and we're going replace it a little bit later.
Gary The Water Guy:
At this stage, you're going to install a shutoff valve on the drain line and the reason is because you want to be able to shut off the sanitizer and trap it within the system. You just cut the line and install this fitting, leave it open for now. Then the next stage is, you've got the sediment filter housing that's removed from the manifold, and you're going to pour the Sani-System into the sediment filter housing. If you chose not to use Sani-System, for whatever reason, you can use three tablespoons of chlorine or bleach. Then you thread the housing back onto the manifold.
Gary The Water Guy:
Then you're going to go to your shut off, the main supply shut off to your reverse osmosis system, and you're going to open that up and water's going to start flowing through the system and it's going to pick up that disinfectant and it's going to run throughout the whole system. Now, when you start to get some water flowing to the drain, remember we've put in this shut-off to the drain, so you're going to have some water and disinfect and start flowing out. Once you start seeing that, you just close this so you trap it inside. Then it's going to continue to fill this whole system. I mean, obviously you're going to be checking for leaks, make sure there aren't any and make sure your tank valve is wide open, like this one here, in the open position so that the disinfectant also fills in the tank.
Gary The Water Guy:
You're going to fill up the whole system. You're going to make sure that the faucet at the kitchen sink is closed so you don't have any water flowing out of that. Then you're going to fill the whole system. Once it's full, then you let it sit for five minutes and it's going to disinfect the whole system. If your reverse osmosis system is also connected up to your fridge, then make sure that line is on and you've got some disinfectant flowing through that too, to make sure everything is disinfected. After the five minute wait time, then you can flush it out. What you need to do at that point is you need to open up the faucet, let the water flow, and drain everything down. So while it's draining down, at some point you may want to shut off the supply, so that you make sure that you fully empty the reverse osmosis tank. Once it's fully empty, then you can open this up again.
Gary The Water Guy:
Once you've washed out all of the disinfectant, of course, you've opened up this drain line, you've washed everything out, then what you would do is you would place the filters. Now, if you're not sure how to do the filter replacement, I'll put a link to a video on that in the description down below, so you can check that out.
Gary The Water Guy:
Once the new filters have been installed, then you're going to want to fill the whole system and you're going to want to flush it. You need to fill the whole system, which is going to take about two to three hours to fill, and then you're going to open up the faucet, flush it till the water flows down to a trickle. Let it fill again. Again, two to three hours. Open up the faucet, flush it, let it fill again and flush it. You're going to want to flush the three times because the reverse osmosis membrane has a preservative in it and you want to make sure you flush all of that out. For my next video on reverse osmosis drinking water systems, click up here and I'll see you there.