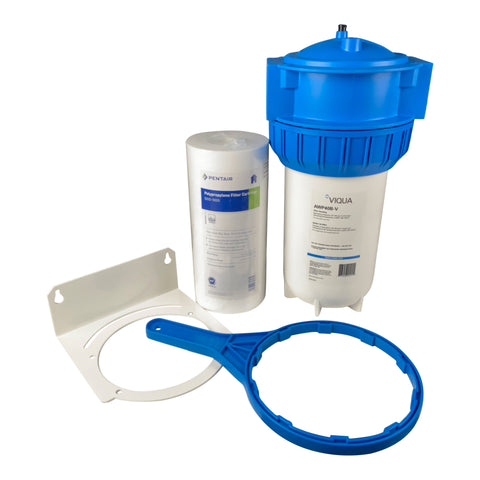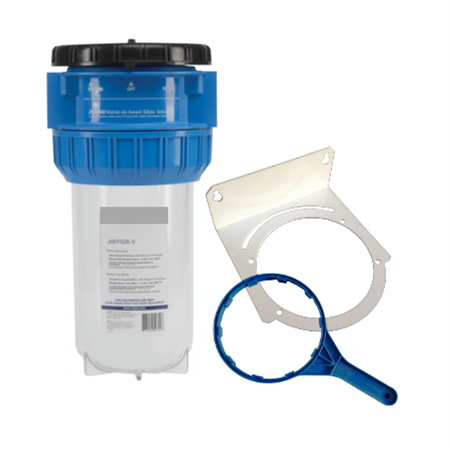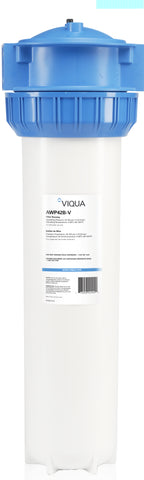


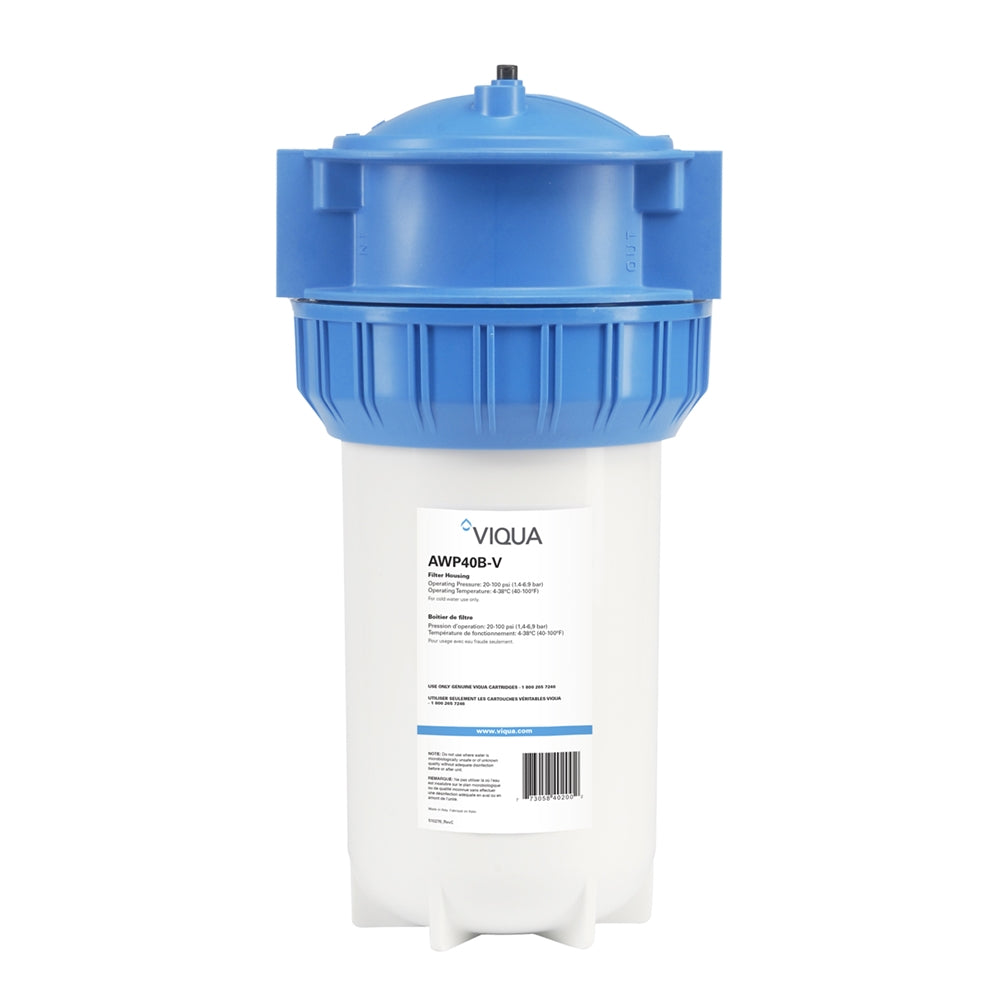

These extra large, often called big blue, housings are perfect for whole home or cottage filtration. When installing a Viqua Big Blue Filter Housing you‘ll first need to decide where to install. The housing needs to be mounted where you have good access to replace the filter in the future and where any water being spilled during filter replacement will not splash into or onto electrical components. Also make sure that you are installing it into the plumbing before the water splits into hot and cold so both of these are treated by the filter. 1. Shut off the main water supply valve. 2. Mount the unit to the wall using the mounting bracket provided mounted securely on plywood or solid wood backing. 3. When installing the Filter Housing, make sure the flow arrows on them point in the same direction as the water flow. WARNING: if soldering, do not allow heat near plastic threads or fittings. 4. I always recommend installing ball valve shut offs before and after the filter housing to make future filter changes easier. 5. Unwrap the filter cartridge and place inside the housing. If you aren’t sure about which sediment filter cartridge to use for this housing check out my video here https://www.youtube.com/watch?v=RTgRY... 6. Open the valves on either side of the Filter Housing. Open supply valve slowly and bleed air from system while checking for leaks. 7. Be sure to flush all new filters thoroughly at a bathtub of laundry sink faucet before using the water for your family. 10” White – AWP40B-V 10” Clear – AWP40C-V 20” White – AWP42B-V Please share this video https://youtu.be/X0qIhpHarPA