


Welcome to the second instalment of our water softener installation series! We hope this post is a useful resource for DIY homeowners and plumbing professionals looking to install their own water softener systems. In this post, we’ll be focused on Clack water softener plumbing specifically, discussing the process used in installing one of their units.
Be sure to check out our first blog in this series, "Water Softener Installation 1 - Where to Install" before proceeding as it has some great information you'll need.

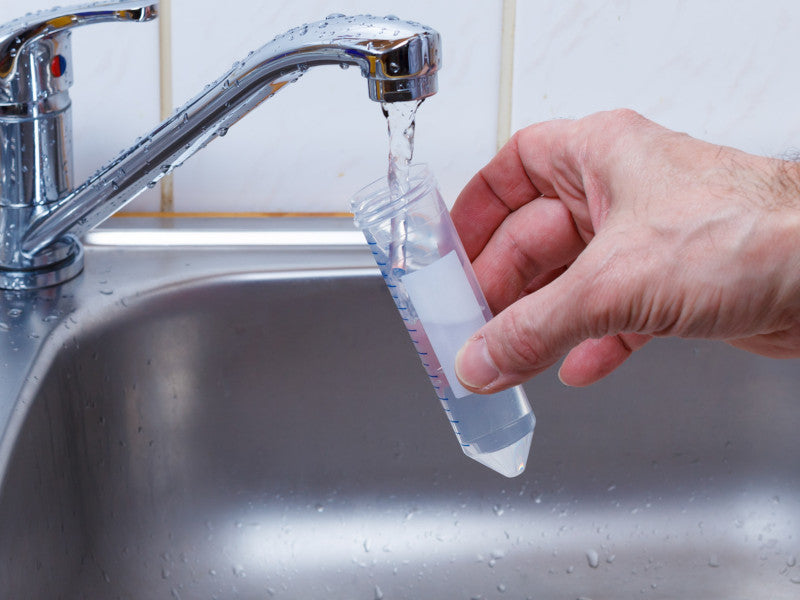
Ready to get started? Let's dive in and learn more about Clack water softener installations from Gary the Water Guy.
HOW TO INSTALL A CLACK WATER SOFTENER
- Turn OFF the water supply.
- Open a water tap anywhere in your home to depressurize the lines.
-
Cut water line and connect to water softener.

a) Install supplied tail kit fittings for 3/4-inch copper plumbing, if your plumbing is a different size or is in pex, start with 3/4" copper and then use an adapter. Assemble the components ahead of time making sure the connector is on the pipes before soldering, once cool add the o-ring and white plastic seal.
b) Attach the water lines to the appliance in compliance with all applicable building, plumbing, and electrical codes. Do NOT over-tighten the connections on the bypass, usually hand tight is enough.
c) Check the arrows on the valve to ensure that the water flows in the proper direction. It is very important that you Do NOT plumb your water softener in backwards.
-
The overflow line drains away excess water should the tank overfill due to a malfunction. Make sure that the overflow elbow is in the DOWN position.
a) Connect 1/2-inch I.D. tubing between the overflow fitting and a floor drain, laundry tub or another suitable waste receptor. Ensure that the overflow line ends at a drain that is at least 3 inches lower than the bottom of the overflow fitting. Maintain a minimum 2-inch air gap. This gravity line cannot be run overhead.
-
The drain line carries away the backwash water as part of the regeneration cycle.

a) Connect the drain line to the drain end cap with a minimum 1/2-inch I.D. tubing or just use 1/2-inch pex.
b) Route the drain line to a floor drain, laundry tub or another suitable waste receptor. Maintain a minimum 2-inch air gap between the drain line and the flood-level rim of the waste receptor to prevent back-siphoning. This drain line should make the shortest run possible.
c) The drain line may be elevated up to 8 feet from the discharge on the water softener as long as the water pressure in your system is 40 psi or more.
d) If the drain line is 25 feet or longer, increase the drain line to 3/4-inch I.D. Ideally, the end of the drain line must be equal to or lower in height than the control valve. Caution: The drain line must NOT be kinked, crimped, or restricted in any way.
After reading through our expert advice and guidance today, you should hopefully feel confident enough to investigate any potential issues that might arise during the installation process.
Looking for more? Follow along for the next post in this series on connecting the drain line to your household plumbing and putting your Clack WS1 water softener into service.