


Whenever a cold liquid moves through a tank or pipe in a warm and or humid room you'll get condensation on the outside. Given enough cold water flowing with heat and humidity, like in a cottage without air conditioning, the water will start to run off the tank and you'll get puddles on the floor. This could result in damage to the floor. Also, since these tanks are usually located in an area with minimal air circulation and a somewhat dirty environment it doesn't take long for mold to start to grow on the outside of the tank, making a mess.
To stop this process you’ll need insulation on the outside of the media tanks. These
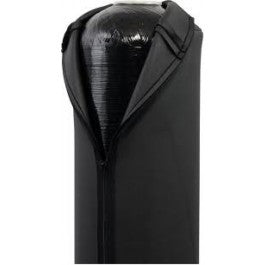
neoprene sweat jackets (same stuff that is used to make diver's wet suits) provide a
quick and easy solution to reduce tank condensation, mold growth and puddling on the floor of your utility room. There is no need for complicated removal of valves or plumbing when insulating your tank with these jackets.
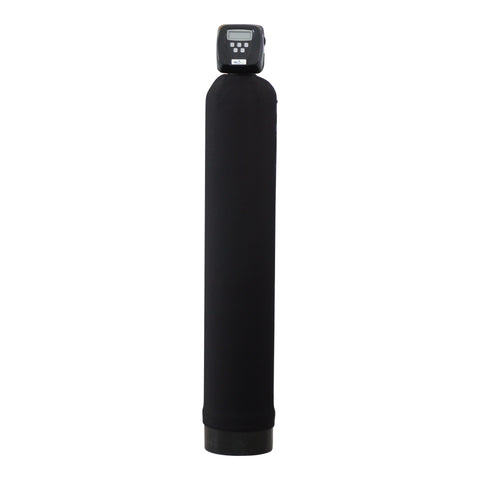
These jackets are easy to install since they have a zipper down the back. They can be applied to any media tank whether it is a water softener, iron or sulphur filter or back washing carbon or sediment filter.
For long term service they are also washable in cold water and are air dried.
The best way for you to check the size is by looking down near the bottom of your tank for its size. For example this tank shows a code 1054 which means that it is a 10" diameter tank that is 54" long. So that is the size jacket you will need - 1054.
To install, clean the tank(s) thoroughly and make sure it is dry before installing the jacket. Then surround the tank with the jacket and secure the two sides together with the velcro closure at the bottom before engaging the zipper. Then carefully zip it up! If it's slightly off centre, you can slightly rotate the jacket to improve the fit and finish.